The post First Layer, The Foundation Of Your 3D Printing appeared first on Best Cheap 3D Printers.
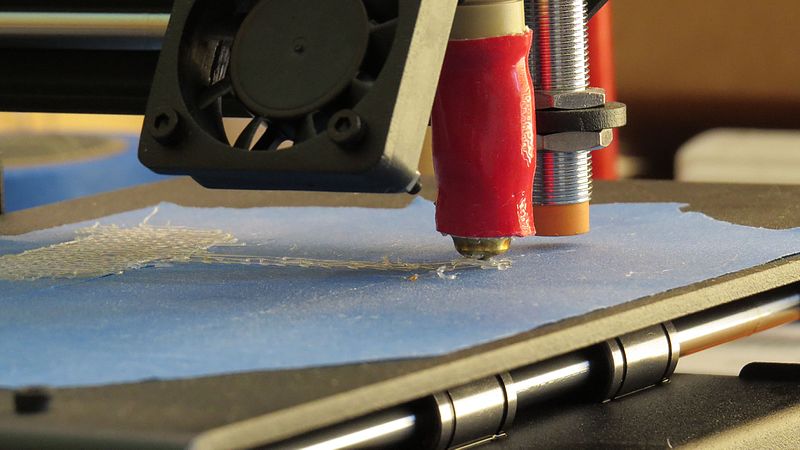
]]>First layer is the foundation of every 3D printed part. You can imagine what happens to a building with a bad foundation! Choosing the appropriate settings for the first layer of our model not only saves the part from destruction but also is vital for its final quality.
Now let’s get down to the business and discuss this vital factor …
Some Symptoms and their resolutions
In the following video, doodaddoes you tube channel discusses about some first layer symptoms , causes and their solutions. The following diagram shows a glossary of what he has explained.
You can visit posts about E-Step and Resolving The Mesh Errors, if you need more information about these subjects.

First Layer Issues (Symptoms, Causes and Resolutions)
Before doing anything please just make sure :
- the temperatures of the nozzle and bed are set correctly
- the bed is in good working order or clean it
Now enjoy this interesting and helpful video…

First Layer Settings On CURA Slicer
Settings In The Slicer For The Best First Layer Quality
- First Layer Settings ( height, speed and width ( the amount of material feed))
- Cooling Fan Speed settings for the first layer
- Using Skirts / Brims and Rafts
The settings he is showing is related to Simplify 3D software and the same settings can also been found on CURA software which is free. This image is related to CURA ( Version 15.04 )
Some Useful Links
3D Print First Layer
Print Quality Troubleshooting Guide
Repair Your File To Create Seamless 3D printed parts
Do You Feed Appropriate Amount of Material Into Your 3D Printer?
3D Printing Multiple Processes in Cura
Bottom Line
Now we have moved another valuable step forward in 3D printing knowledge. Knowledge is power and now we are more powerful. We can save a lot of time, material, energy and money with just considering the above points before starting to print.