The post Upgrade Your 3D Printer For Advanced Functions appeared first on Best Cheap 3D Printers.
]]>Do you want to add more advanced features to your 3D printer? The target of this post is to provide a bigger picture of the possibilities for improving your machine. The methods and devices are easy and inexpensive. Think more. Isn’t it exciting?
Some of the upgrades in this page are just for the 3D printer kits and if you receive a 3D printer that is fully assembled they may already have these upgrades on.
Table Of Contents
Some Important Upgrades
Upgrade 1:
Auto Bed Levelling
Depending on the type and brand of your 3D printer, you need to level its printing platform every 10-20 prints. Manual bed levelling is a time consuming process. With an auto bed levelling system you can get rid of this manual process and perform it easily in shorter time periods and with more accuracy.
In the real world Auto Bed Levelling is not really levelling the bed. Actually it is done by a levelling probe that measures the vertical distance between the printer head and the printing platform.
Brook Drumm and his team in Printrbot have prepared the following interesting video. They have managed to print on a sloped bed plate using an auto bed levelling system.
Table Of Contents
Table Of Contents
If you have a 3D printer with auto bed levelling that’s OK but if your machine doesn’t have this feature it’s absolutely better to add it to your machine.
GuruBrew Youtube channel has prepared the following video on installing and using the auto bed levelling system on a 3D printer. It’s helpful and interesting. Depending on the hardware, firmware and the type of the sensor that you choose the method could be different.
Table Of Contents
Table Of Contents
Upgrade 2:
Improving The Motion Accuracy
You can design and add some components to your 3D printer to get rid of loose connections and backlashes between the mating and moving parts on your machine. These upgrades improve the motion accuracy of your 3D printer and enables you to create more accurate parts.
You can also find helpful points on ” How To Fine Tune The Output Of Your 3D Printer” for better accuracy.
The following video from Tech2C youtube channel shows a good example of this kind of upgrade. Please note that these upgrades are for Prusa i3 and depending on your machine you may need different actions.
Table Of Contents
Table Of Contents
Upgrade 3 :
Adding A Heated Bed For Printing ABS
If you print ABS on a 3D printer without a heated bed, the part will most probably warp or detach from the print bed. So if you want to print more advanced materials including ABS then you need to add a heated bed to your machine.
Thomas Sanladerer has prepared the following video. It’s really informative and helpful. Enjoy watching it.
Table Of Contents
Table Of Contents
Upgrade 4 :
Extra Power Source For Heating The Bed
A heating bed spends energy and adding it to your 3D printer requires you to add a power source to your machine. Otherwise you will need to wait for a long time for both 3D printer head and bed to warm up.
So organise to add a separate and appropriate power source to feed your heating bed.
Table Of Contents
Part Cooling Fan
Upgrade 5:
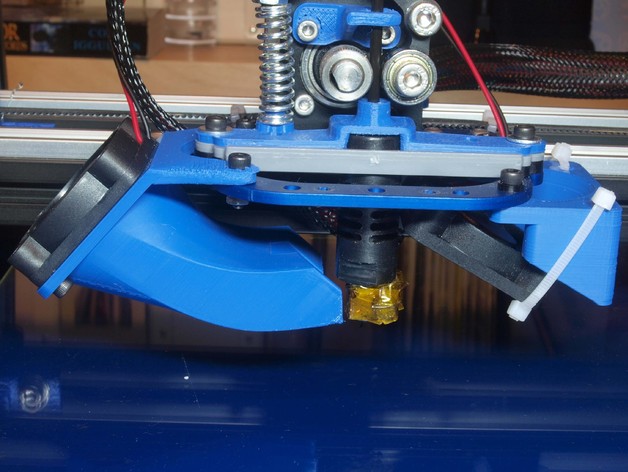
Adding A Fan For Cooling The PLA Parts
On the post about “Improving The Quality Of 3D Printing By Cooling Fans” we saw that for improving the quality of PLA parts we need to have separate cooling fans blow to the printed part.
This is a very important upgrade for your 3D printer but remember that you should not use it for ABS parts.
You can find valuable and interesting ideas and designs about part cooling fans in thingiverse.com.
Table Of Contents
Upgrade 6:
Use A Raspberry Pi
Using a Rasberry Pi and running OctoPrint on it, you can have a strong control
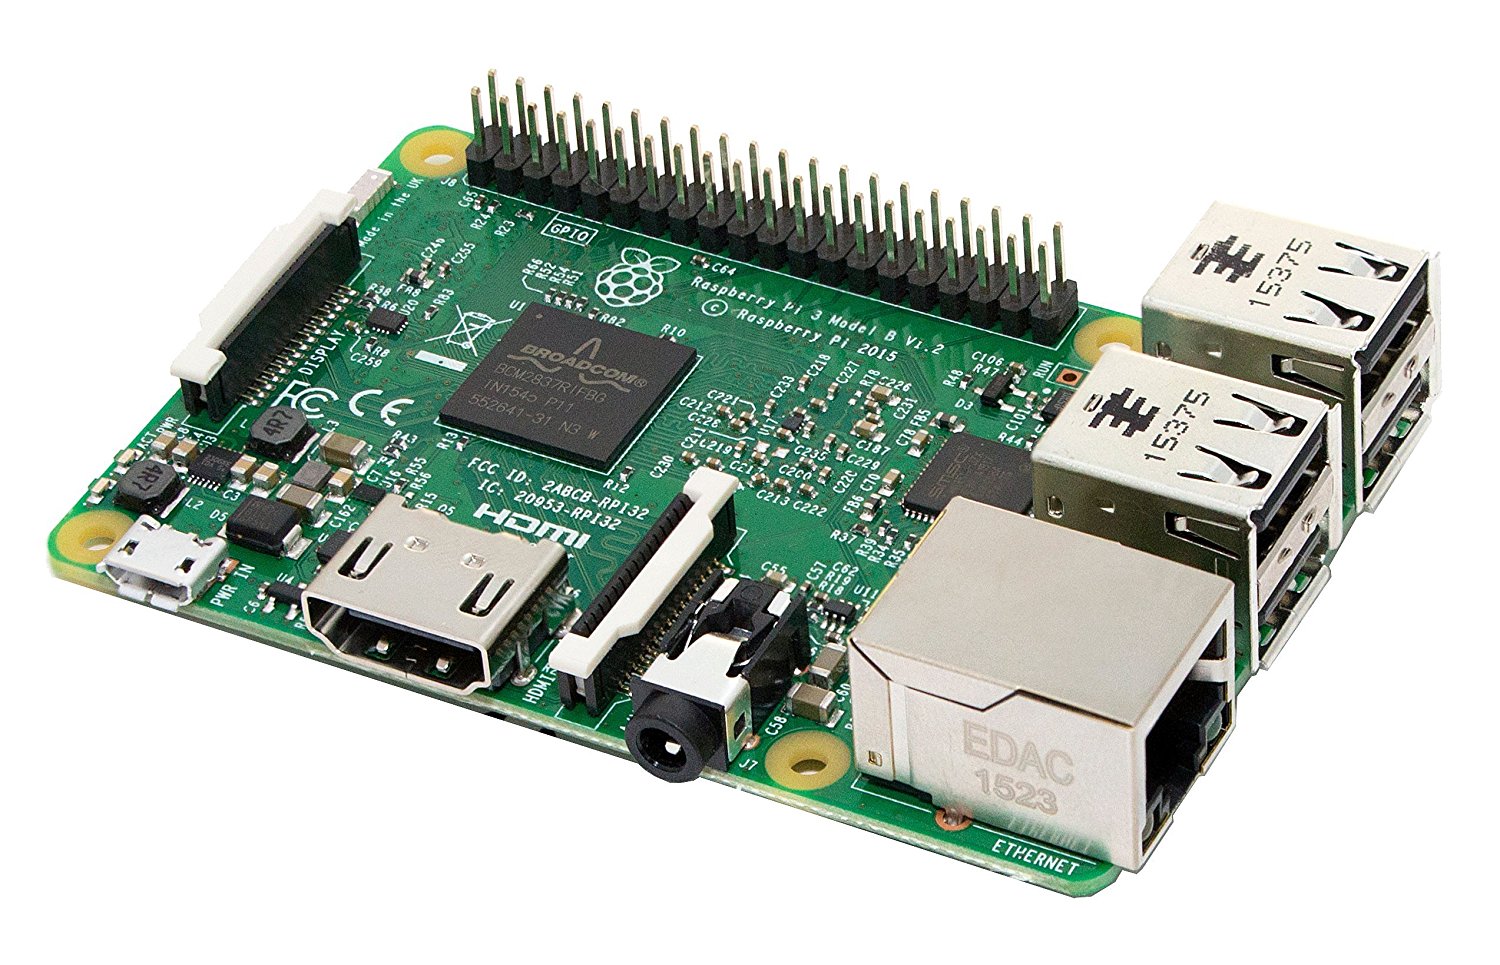
Raspberry Pi
on your 3D printer remotely through your computer.
- Raspberry Pi connects your 3D printer to your local ( wireless ) network. So you don’t have to move a SD card in and out to transfer the files or attach a PC to your printer with a USB cable. In other words this device turns your 3D printer to a network device that you can remotely access it.
- You can control all the parameters of your 3D printers with any computers, phones or tablets that are connected to the same network and through WIFI.
- Thanks to the plugin systems, now you can widely expand the functionality of the Raspberry Pi and as a result your 3 printer.
Isn’t it exciting?
- Connect a webcam to your Raspberry Pi and create awesome timelapse recordings of your prints. You can also watch your 3D prints without being close to your 3D printer at any time.
- Have notifications about your printing job progress
To see more features on OctoPrint and download it for free Click Here .
Rasberry PI is very cheap and you can easily buy it from Amazon.
Thanks to Extruder Joe Youtube Channel for the following video about Raspberry Pi. It’s really helpful and interesting. Enjoy it!
Table Of Contents
Table Of Contents
Upgrade 7:
Build An Enclosure For Your 3D Printer
Some materials including ABS are really sensitive to temperature changes and unwanted air flows. So having an enclosure for your machine will improve the quality of the ABS parts a lot.
It also reduces the noise level of the machine which is a very important factor especially for a machine that works for long times.
Table Of Contents
Upgrade 8:
Find The Appropriate Spool Holder
A Spool Holder is a wonderful upgrade for your 3D printer . A good spool holder prevents filament snags and helps a smooth flow material into your extruder. It considerably improves your print quality.
Depending on the brand and design of your 3D printer you can find a number of really good spool holder designs in Thingiverse.com. The following video from treborrrrr Youtube Channel is showing a low friction and interesting design of a spool holder.
Table Of Contents
Table Of Contents
Upgrade 9:
Use A Detachable Glass Printing Bed
Aluminium beds tend to get warped and dented in contact with heat . Glass doesn’t have this tendency and remains flat. You can clean it much easier and the flatness and surface roughness is much better than aluminium beds.
A detachable printing bed helps you detach the part from the bed much more easily and reduces the possibility of printing platform to go out of level.
You don’t have to do a number of complicated and and expensive steps to have a glass printing bed. Just have the glass cut to the size of your current print bed and attach the glass on top of the printing bed with simple appropriate paper clips. That easy!!!
Table Of Contents
Bottom Line
Now we should have a bigger picture about the possibilities of machine improvement. This helps us improve our ability to create more accurate and more beautiful parts.
These possibilities are not limited to the ones introduced in this page. Depending on the machine and your demands, you can use your creativity and knowledge to add more advanced features.
Each problem is an opportunity for improvement. So don’t be afraid of 3D printing issues and think how you can upgrade you machine or method to avoid it. Thinking this way we become excited and energised by turning the problems into opportunities.
In the next post we look at some very useful resources about 3D printing problems and solutions.
We invite you to enrich this post with your comments about your experiences in improving the 3D Printers.
Table Of Contents
Useful And Interesting Links
Upgraded upgraded upgraded Hictop ( Many thanks to Crip Skillz.)
BLtouch Auto levelling (Many thanks to ANTCLABS )
OCTO Print Tutorials (Many thanks to Joe Mike Terranella)